fiveprime.org/hivemind/Tags/SkyEffect/
fiveprime.org/hivemind/Tags/Deanna,Cremin/
_________________________________________________________
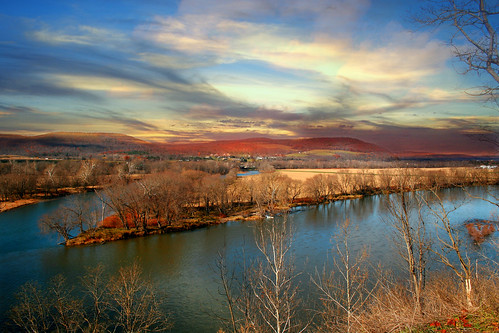
This is for the Fix My Pic Please group.
From an original by Umbra Letum titled, At the fork in the river.
...and part of the monthly before and after forum...
Photo fixes October 2008:
www.flickr.com/groups/FixMyPicPlease/discuss/721576076272...
...and also included in this discussion thread from the
Nikon Digital Learning Center:Assignment...Fall Color
www.flickr.com/groups/NikonDigitalLearningCenter/discuss/...
(dial-up warning - long thread w/images)
Here is a link to the original from Umbra Letum:
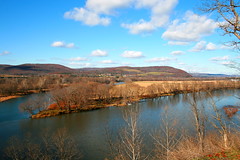
www.flickr.com/photos/59197977@N00/2061295154/in/pool-404...
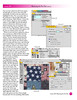
I loved the colors of the landscape in this photo, and thought I would rework the sky some. I used the lasso tool with a very strong feather on the original size image to select portions and add just a bit of contrast. I then added some sections of new sky from a couple other images...again using the lasso tool to select the portions.
I had these as regular mode layers and soft light mode layers and different amounts of opacity. Thank you Umbra Letum for letting me work on your wonderful photo.
Tutorials | Photo Editing Selection Tools | Fix My Pic • Please Teach Me :)
__________________________________________________________

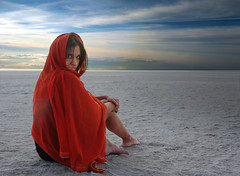
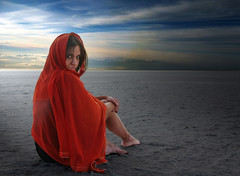
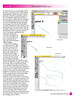
Tuz Lake (Salt Lake) | Turkey
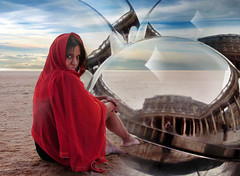
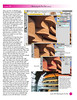
I used the Pen Tool to isolate and select the subject. The versatility and precision of the Pen Tool allow for any possible selection. It will create the smoothest and most gentle curves. The paths that are created ar in turn used for selection work. I can simply and quickly modify the selection by expansion, contraction, etc....feather it a bit, and then use the selection to trap against the edge of the subject. I can then easily use the airbrush eraser to give the edge any amount of softness I desier. The Pen Tool is a very crisp line, but with some easy adjustment, and edge is possible.
I also used the Sky Effect technique to add in a new sky where there once was non. This is prettys simple, especially once the subject is isolated. Just add the sky on a new layer, and apply as one of the Light Blending modes....such as Screen, Multiply, Soft Light, Hard Light, etc. Blending multiple times with some softe feather work will allow for a complex sky too. On the featured image I created some spheres and this too was on multiple layers, some of which were the light blending modes.
flickr HiveMind PenTool
flickr HiveMind SkyEffect
Here is some info on the Sky Effect...
www.flickr.com/photos/GrfxDziner/2823116712/#comment72157...
...and the Pen Tool...
www.flickr.com/photos/GrfxDziner/2509280338/#comment72157...
Automatic Download of 3-Page tutorial in .PDF format:
www.GrfxDziner.com/lessons/Lesson4AFULL.PDF
Automatic Download of 4-Page tutorial in .PDF format:
www.GrfxDziner.com/lessons/Lesson4BFULL.PDF
__________________________________________________________


__________________________________________________________
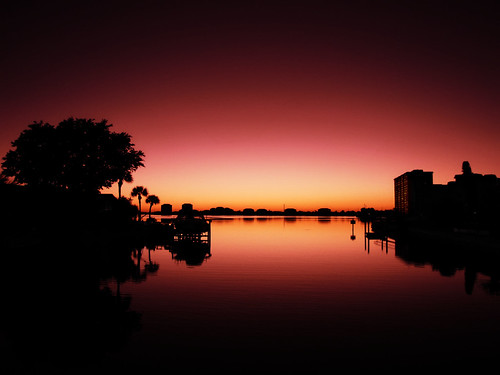
Stairway to Heaven GrfxDziner.com
flickr HiveMind | MyFoxBoston (recent uploads)
http://fiveprime.org/hivemind/Tags/MyFoxBoston/Recent


![egret2a [GrfxIntroSWF]](https://live.staticflickr.com/153/335649894_87c59b4945_m.jpg)